Physical Address
304 North Cardinal St.
Dorchester Center, MA 02124
Physical Address
304 North Cardinal St.
Dorchester Center, MA 02124
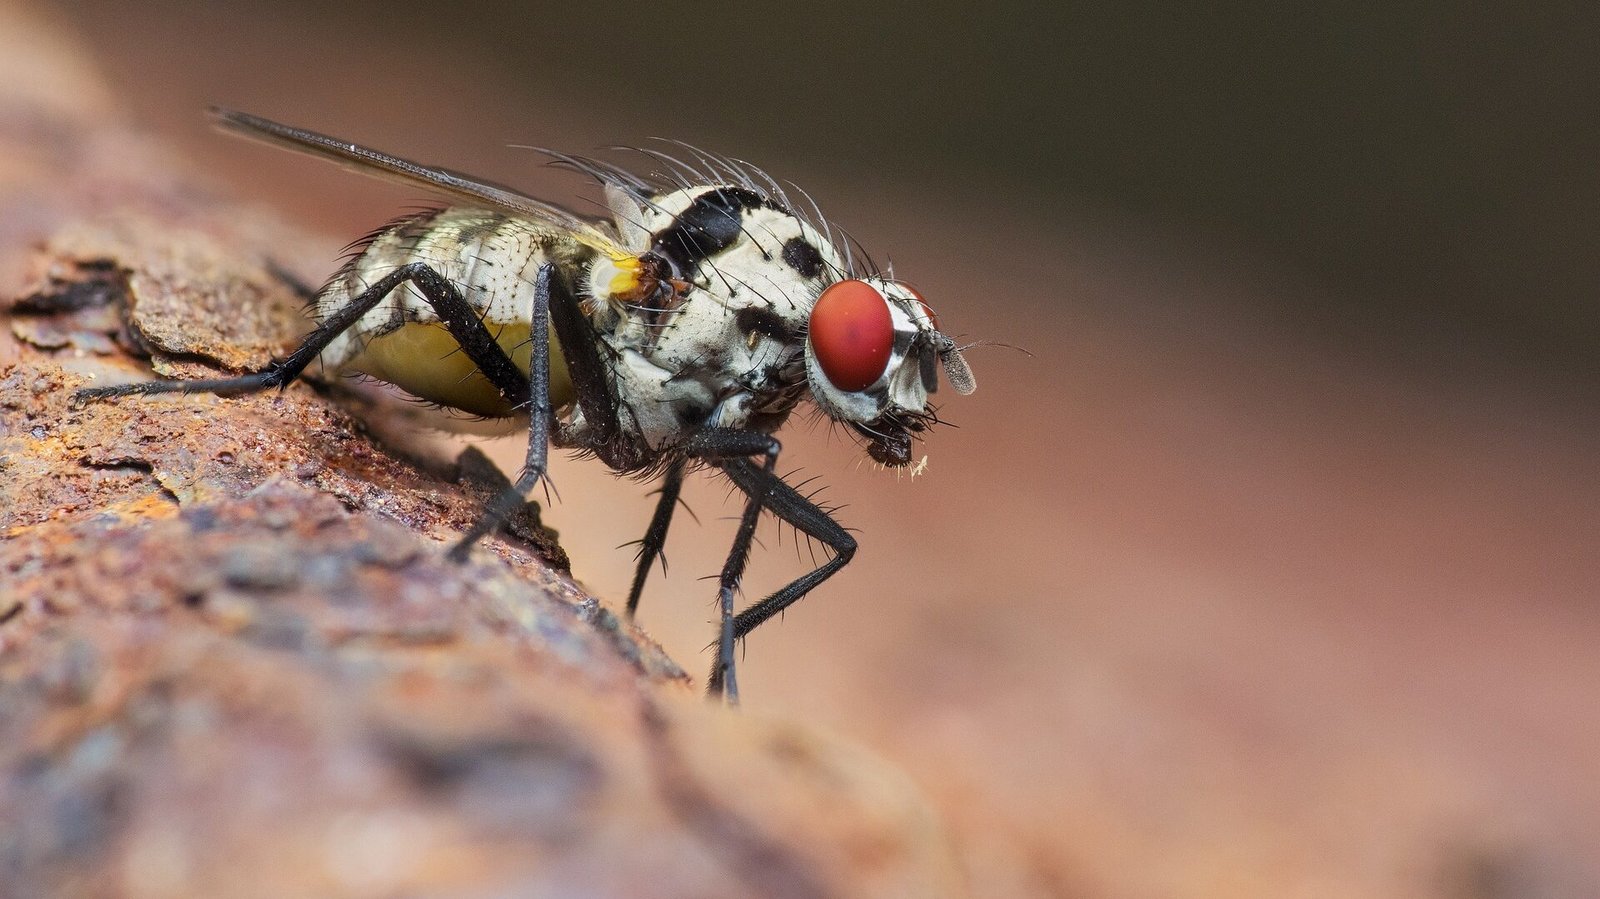
Macro photography opens up an extraordinary world, revealing intricate details that are often invisible to the naked eye. However, achieving a sharp image with a significant depth of field in macro photography can be a challenge. The closer you get to your subject, the shallower the depth of field becomes, meaning only a small portion of your subject will be in focus. This is where focus stacking comes into play—a technique that allows you to combine multiple images taken at different focus points to create one sharp, detailed photo.
This guide will provide an in-depth look at focus stacking in macro photography, from understanding its benefits to mastering the techniques required to achieve stunning results. We’ll also cover focus stacking techniques for beginners and offer tips on how to maximize your depth of field.
Focus stacking is a post-processing technique in which multiple images, each focused on a different part of the subject, are combined into a single image with a greater depth of field. By focusing on different areas of your subject in each shot, you can ensure that every part of the subject appears sharp and clear in the final image.
In macro photography, where the depth of field is typically very shallow, focus stacking is especially useful. It allows photographers to achieve a sharp and detailed image from front to back, even when working at high magnifications.
Before diving into focus stacking techniques, it’s important to understand why depth of field (DOF) is limited in macro photography. Depth of field refers to the range of distance within a photograph that appears acceptably sharp. When you focus on a subject up close, as in macro photography, the DOF narrows significantly. This happens because:
Even at very narrow apertures like f/22, the shallow depth of field may not cover the entire subject in a macro image, which is why focus stacking becomes necessary.
Before we get into the actual technique, let’s go over the equipment that can help you achieve the best results when focus stacking in macro photography.
A dedicated macro lens is essential for capturing fine details. Choose a lens with a 1:1 magnification ratio, which means the subject appears life-size on the camera’s sensor.
Stability is critical when taking multiple shots for focus stacking. A sturdy tripod ensures that your camera stays perfectly still between shots, allowing you to focus on different parts of the subject without shifting the composition.
A macro focusing rail allows you to make precise adjustments to your camera’s position. Instead of manually adjusting the focus ring on your lens, you can move your camera forward or backward in tiny increments, ensuring that each shot focuses on a slightly different part of the subject.
Using a remote shutter release minimizes camera shake, ensuring that your images are as sharp as possible. Even the slightest movement when pressing the shutter button can blur an image, especially in macro photography.
Now that you have the necessary equipment, let’s break down the process of achieving depth of field in macro photography using focus stacking.
Select a subject that benefits from a wide depth of field, such as a flower, insect, or intricate texture. Once you’ve chosen your subject, set up your composition with your camera securely mounted on a tripod.
Switch your camera to manual mode so that you have complete control over the aperture, shutter speed, and ISO. This ensures that each image you capture in the focus stack is consistent in terms of exposure.
Start by focusing on the nearest part of the subject that you want to be sharp in the final image. Use live view to zoom in and fine-tune the focus manually, ensuring that the closest part of your subject is tack-sharp.
Once the nearest part of the subject is in focus, capture the first image. Ensure that your camera remains stable, using either a remote shutter release or your camera’s built-in timer.
After capturing the first image, move the focus point slightly further into the scene. This can be done either by adjusting the focus ring on your lens or, for more precision, by moving the camera using a focusing rail. The idea is to ensure that each subsequent image covers a new portion of the subject that was previously out of focus.
Continue taking shots, adjusting the focus with each image, until you’ve covered the entire depth of the subject. For example, if you’re photographing a flower, you’ll need to capture images focusing on the petals, the center, and anything in between.
Once you’ve captured all the images, it’s time to process them using specialized software. Programs like Adobe Photoshop and Helicon Focus are excellent for stacking images and blending them into a single, sharp photo.
After stacking your images, you may need to make some final adjustments to the exposure, contrast, and sharpness. You can also crop the image if necessary to remove any unwanted edges caused by the alignment process.
Mastering focus stacking in macro photography allows you to achieve stunning, sharp images with incredible detail and depth. By taking multiple images focused on different parts of your subject and blending them in post-processing, you can overcome the shallow depth of field that’s common in macro photography.
Whether you’re photographing the intricate details of an insect’s wing or the delicate petals of a flower, focus stacking can elevate your macro photography to a new level. With the right equipment, careful attention to focus points, and some practice in post-processing, you’ll be able to create images that are both striking and technically impressive.
Embrace the technique, and watch your macro photography transform!


