304 North Cardinal St. Dorchester Center, MA 02124
The Best Lighting Techniques for Perfect Macro Photography
In this article, we’ll explore the best lighting techniques for perfect macro photography and how to use them effectively, whether you’re working indoors or outdoors.
Lighting is one of the most critical aspects of macro photography. Since macro images focus on capturing extreme details of small subjects, even the slightest variation in lighting can significantly impact the outcome. Whether you’re using natural light, off-camera flashes, or specialized lighting equipment, knowing how to control and shape light is key to producing stunning macro images.
Why Lighting Matters in Macro Photography
In macro photography, the distance between the lens and the subject is often very short. This close proximity means that natural light sources or on-camera flashes may not illuminate the subject evenly, resulting in harsh shadows or blown-out highlights. Mastering lighting techniques allows you to control shadows, texture, and color contrast, revealing the intricate details of your subject in their best form.
Best Lighting for Macro Photography: Key Approaches
1. Using Natural Light in Macro Photography
Natural light is often the easiest and most accessible lighting source for macro photography, especially when shooting outdoors. However, it comes with its own set of challenges, such as varying light intensity and direction. Understanding how to harness natural light effectively will greatly improve the quality of your macro shots.
Tips for Using Natural Light:
Shoot During the Golden Hours: Early morning or late afternoon, when the light is soft and diffused, are the best times for natural light macro photography. The softer light creates gentle shadows and highlights, enhancing the textures of your subject without creating harsh contrasts.
Use a Diffuser: If the sunlight is too harsh, especially during midday, using a diffuser can soften the light. A simple translucent white cloth or a dedicated diffuser placed between the sun and your subject will scatter the light evenly, reducing harsh shadows and highlights.
Backlighting for Drama: For a more creative effect, try positioning your subject between your camera and the light source to achieve a backlighting effect. This technique can highlight the delicate edges and fine details of your subject, like translucent wings of an insect or petals of a flower.
When Natural Light Works Best:
Shooting static subjects such as flowers or plants.
Outdoor macro shots during early mornings or late afternoons.
Highlighting textures and details with softer, diffused lighting.
2. Using a Ring Light for Even Illumination
A ring light is a popular tool for macro photographers, providing even, shadow-free illumination. Ring lights are attached to the front of your lens and encircle the subject, ensuring uniform lighting from all angles.
Benefits of Using a Ring Light:
Even Lighting: Ring lights are perfect for eliminating shadows and evenly lighting subjects, which is especially useful when photographing symmetrical subjects like insects or water droplets.
Compact and Portable: Ring lights are lightweight and easy to carry, making them an excellent option for on-the-go macro photographers.
Adjustable Brightness: Many ring lights allow you to adjust the intensity of the light, giving you greater control over the exposure of your shot.
Limitations:
Flat Lighting: While a ring light offers even lighting, it can sometimes result in images that lack depth or dimensionality. Consider using other lighting techniques to complement the ring light, adding shadows or highlights for more dynamic images.
3. Off-Camera Flash for Controlled Lighting
An off-camera flash is one of the most versatile lighting tools for macro photography. By moving the flash away from the camera, you gain full control over the direction and intensity of the light, allowing you to create custom lighting setups tailored to your subject.
Best Practices for Off-Camera Flash:
Use a Flash Diffuser: Without modification, direct flash can produce harsh shadows and overly bright highlights. A flash diffuser softens the light, providing a more natural and even spread of illumination.
Position the Flash at Different Angles: Experiment with placing your flash at different angles to create side lighting, backlighting, or even dramatic low-key effects. Side lighting can add depth and dimension to your subject, highlighting textures and fine details.
Use Reflectors for Fill Light: When using off-camera flash, it’s common to encounter strong shadows. By placing a reflector on the opposite side of your light source, you can bounce light back onto your subject, filling in shadows and providing a more balanced exposure.
When Off-Camera Flash Works Best:
Shooting in low-light conditions or indoors.
Creating dramatic effects with directional lighting.
Controlling shadows for more defined texture and contrast.
4. Using LED Lights for Constant Illumination
LED lights are becoming increasingly popular in macro photography because they provide continuous lighting, allowing you to see how the light affects your subject in real time. Unlike flash, which fires a burst of light, LED lights offer constant illumination, making it easier to adjust the light source during composition.
Advantages of LED Lighting:
Real-Time Adjustments: Since LED lights provide continuous light, you can make real-time adjustments to the positioning and intensity of the light to achieve the desired effect.
Lightweight and Portable: Most LED lighting kits are small and portable, making them ideal for field macro photography.
No Flash Recycle Time: Unlike flash, which requires time to recharge after each burst, LED lights are continuous, so you never have to wait between shots.
LED Lighting Techniques:
Use Multiple LED Lights: Using two or more LED lights allows you to create a more dynamic setup, where one light acts as the key light and another fills in shadows for more even illumination.
Color Balance: Make sure your LED lights are daylight balanced to avoid color casts. Some LED lights come with adjustable color temperature settings, allowing you to match your lighting to the natural environment or your creative vision.
5. Diffusing Light for Soft, Natural Results
No matter what lighting source you use, diffusion is a critical tool for softening light and creating more natural results. Harsh, direct light can easily overpower small subjects in macro photography, creating stark shadows and unnatural highlights. Diffusing light, either with dedicated gear or DIY solutions, is key to enhancing your macro shots.
Common Diffusion Techniques:
Softboxes and Umbrellas: These are great for diffusing off-camera flashes or studio lights, providing soft, even illumination across your subject.
DIY Diffusers: For a quick solution, white sheets of paper, translucent plastic, or even a simple plastic bag can be used to diffuse harsh light sources.
Reflectors for Natural Fill: Using white or silver reflectors to bounce natural light onto your subject can diffuse the harsh sunlight and provide a soft fill for shadowed areas.
Benefits of Diffused Lighting:
Reduced Shadows: Diffusing light minimizes harsh shadows, helping to create soft transitions between light and dark areas.
More Natural Look: When photographing delicate subjects like flowers or insects, diffused light maintains the natural feel and texture of the subject, enhancing its fine details.
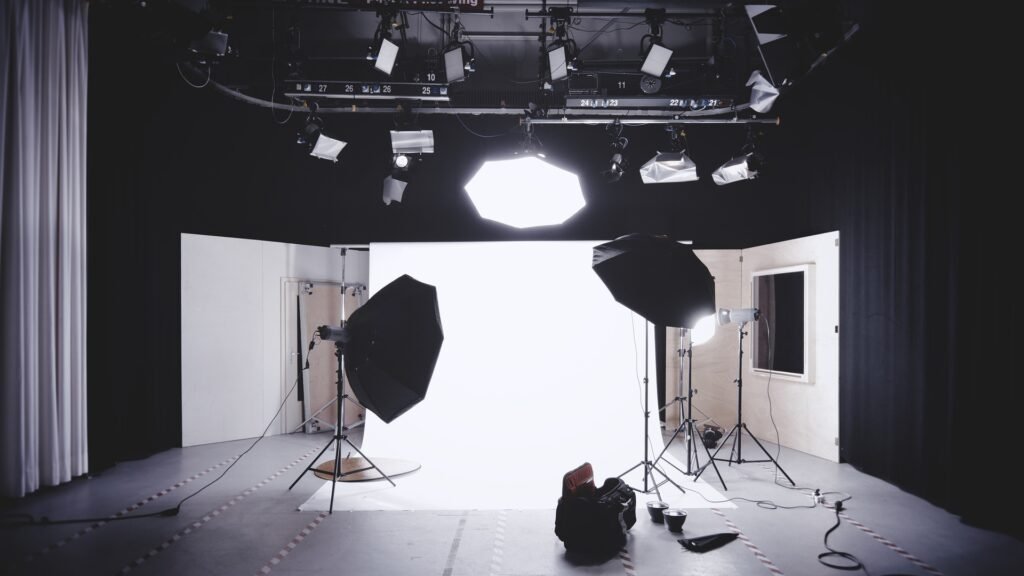
6. Combining Multiple Light Sources
For complex macro shots, consider combining multiple light sources to achieve a well-rounded exposure. For example, you could use natural light as the main light source, while adding LED lights or an off-camera flash for fill or accent lighting. This combination allows you to have more control over your lighting environment.
Benefits of Multi-Light Setups:
Greater Control: Combining different light sources gives you more control over the overall look of your image. You can balance different intensities, add color or directionality, and highlight specific details.
Creative Flexibility: Multi-light setups allow you to experiment with creative effects like dramatic lighting, rim lighting, or subtle highlights on important elements of your subject.
Final Thoughts
Lighting can make or break your macro photography, but with the right techniques, you can elevate your images from simple close-ups to professional-quality shots with stunning detail. Whether you choose to use natural light, ring lights, off-camera flashes, or LED lighting, mastering light control is key to capturing the intricate beauty of your subject.
By experimenting with different lighting tools and setups, you’ll develop a deeper understanding of how to manipulate light in macro photography, resulting in images that truly stand out.